Introduction
Installing RAM correctly ensures optimal system performance and stability. Misplaced RAM kits or unsupported configurations can lead to boot failure, reduced speeds, or instability.
Step-by-Step Guide
- Check motherboard manual for recommended DIMM slots—usually A2+B2 for dual-channel.
- Open side latches on empty DIMM slots fully.
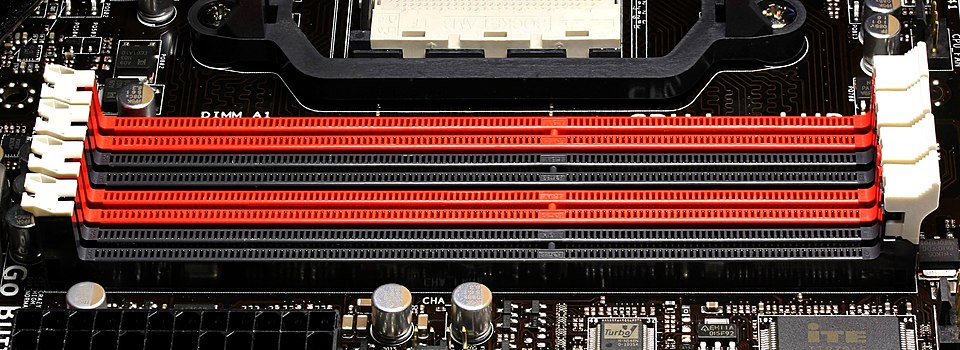
- Insert the memory into the DIMM slot in the right direction.
- Align RAM notch with slot key. Press firmly until both latches click.
- Repeat for the second module in paired slot.
- Verify seating—RAM is flush with motherboard.
Compatibility Tips
- Confirm memory type (DDR4, DDR5) matches motherboard.
- Check maximum supported frequency (e.g., 3200‑5600 MHz) and capacity (64–128 GB+).
- Use kits rated for dual-channel; color-coded slots matter.
- Enable XMP/DOCP in BIOS to run RAM at its rated speed.
Troubleshooting
- No POST or beeps: Try reseating or switching slots.
- System unstable: RAM defaulted to 2133MHz—enable XMP in BIOS.
- One module not recognized: Test each individually to diagnose defects.
Best Practices
- Install kits before CPU cooler to avoid clearance issues.
- Clean contacts with a soft cloth if reinstalling.
- Consider higher frequency or low-latency (CL16–CL18) kits based on workload.